Showing posts with label Colonial. Show all posts

Thursday, 27 February 2025

Zulu: the Battle of Nyezane


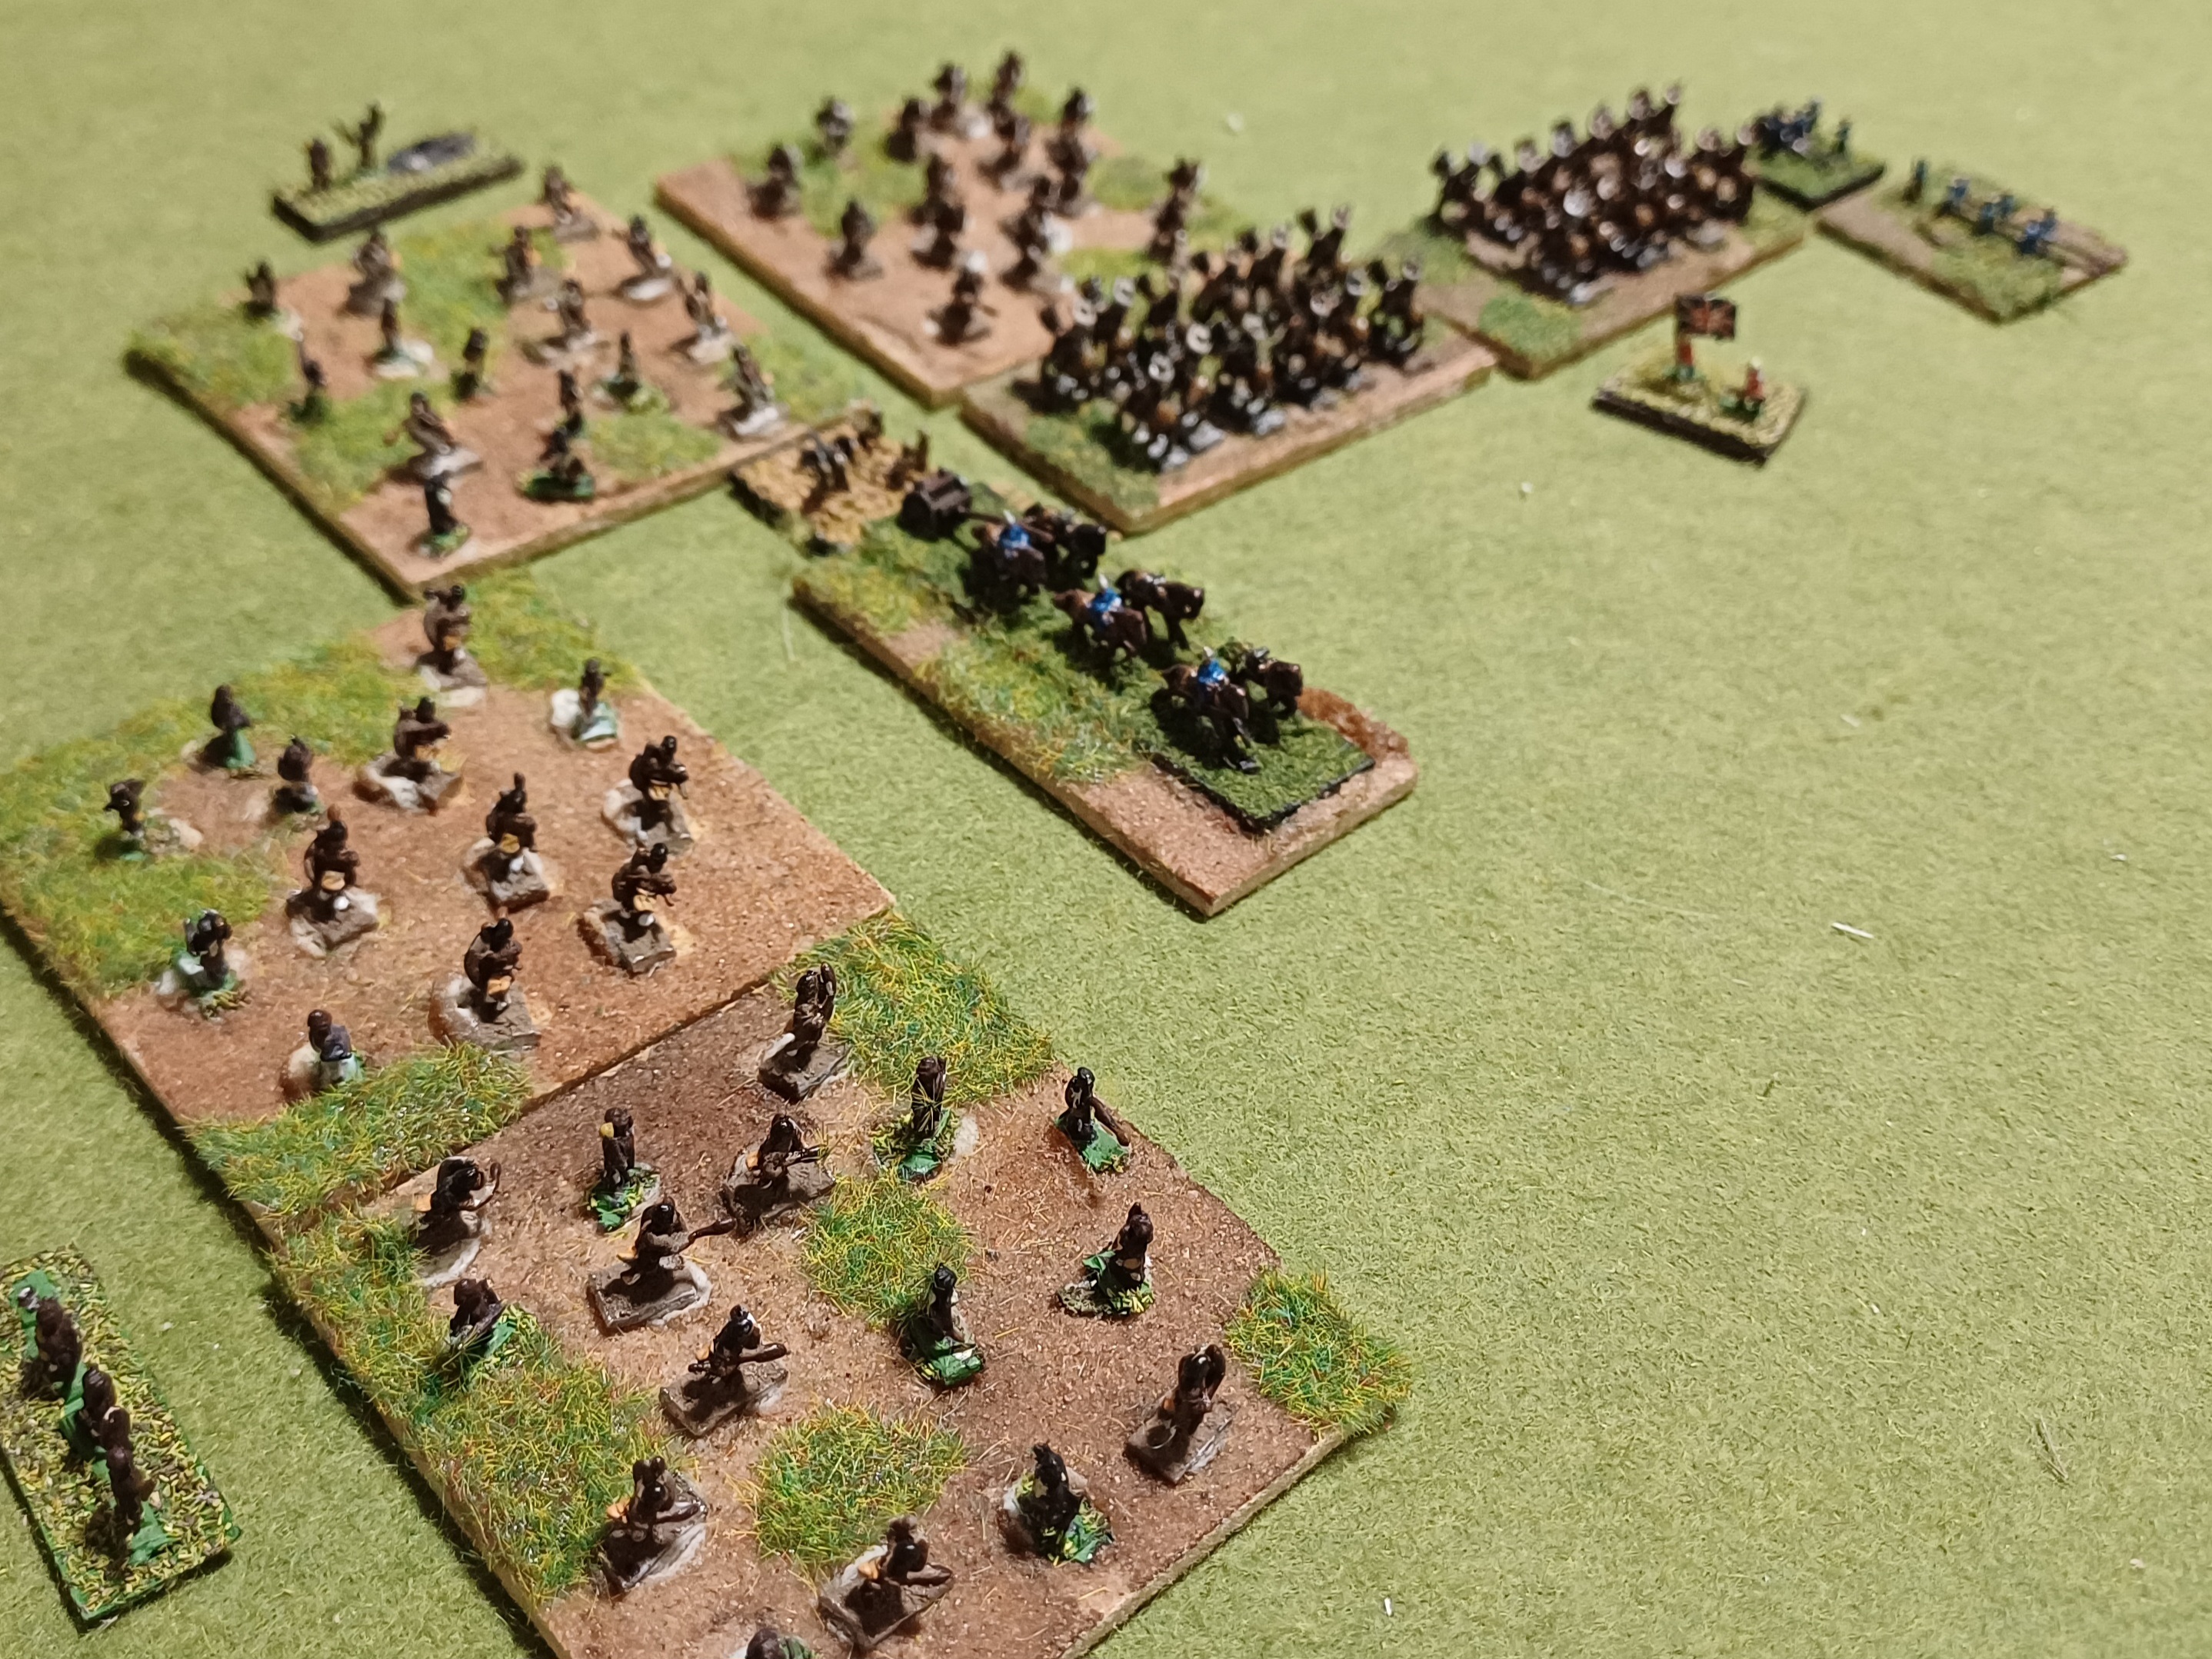
This week I played the 1st game of the year with my friend Andrew and we decided to go with something different.  After a bit of mulling over a selection of ideas we settled on a colonial game, pitting Zulus against a British column.  My armies haven't seen the light of day for years so I was pleased to get them out.

As well as my main armies which are Baccus 6mm figures, I discovered several bases of Brits and Zulus which are (I think) Heroics and Ros.  I have no recollection of buying these (oh, come on... we've all done it!!) but it was immediately obvious that they look like tiny hobbits next to the Baccus figures!  They're very nice but not compatible at all so these will be off to eBay asap.


The next decision was which set of rules to use.  The choice was Black Powder or The Men Who Would Be Kings and after a bit of thinking I went with BP and one of the scenarios from the Zulu supplement.  I opted for the Battle of Nyezane as this seemed a nice, relatively straightforward scenario.  Coincidentally I discovered later that I'd already played out the same scenario at Eric the Shed's  7 years ago

On 22nd January 1879 Col. Pearson's column was slowly making its way into Zululand, heading towards Eshowe.  Crossing the Nyezane river, they were attacked by somewhere between 4-6,000 Zulus.  The scenario stipulates that the British must begin with around 1/3 of their troops on the north bank of the river, and finish with more than 1/2 across the Nyezane.  

The Zulus are hampered by only arriving on an odd dice result, but have the advantage of a bitnof cover behind a couple of sours which partially screen their advance.

The NNC bravely cross the Nyezane ahead of the main force


I began with the Natal Native Contingent deployed across the river with the Naval Brigade and regular infantry marching towards the bridge.  The Zulus had a patchy start with only around half of their commands arriving.  I, rather foolishly, decided that there was a chance to protect the north bank and not leave the NNC to claim all the glory.  

In my defence I may have been adopting the spirit of Col. Pearson and dismissing the chaps with pointy sticks as not much of a threat (the battle took place on the same day as Isandlwana)... or maybe I was just a bit over enthusiastic.  In hindsight I should have formed up along the edge of the drift and used it as a defensive line, but I was too mindful of the need to get troops onto the north bank.

The Naval troops hauled their 7 pounder and a gatling gun across the river and were joined by 2 squadrons of mounted infantry.  Incidentally this battle is believed to mark the 1st deployment of a gatling by the British army.  The Zulu horn swung rapidly across the flank and hammered into the artillery.  The gatling gun opened up at point blank range, shaking the Impi facing it but the whole Brigade was quickly overrun and broke.

The Naval Brigade ford the river

But the Zulus swarm around them


The regular infantry had pushed forward and eventually managed to form a firing line on the Zulus other flank and the NNC fell back rapidly to form up alongside them.  The Zulus decided at this point that they'd probably achieved as much as they were going to without incurring heavy casualties and decided to withdraw. 

The desperate firing line forms up


 They'd lost 1 out of 5 commands but had wiped out the Naval Brigade and a third of the British column... there would definitely be questions asked in Parliament!  We thought it would be interesting to refight this at some point using TMWWBKs to see how it plays out.


Tuesday, 25 January 2022

Hlobane - Battle Cry

Another 54mm game courtesy of Anthony's excellent collection of figures.  This time a refight of the battle of Hlobane, using an amended version of Battle Cry.


I really like lots of the games that use the same mechanics as Battle Cry (Memoir 44, Command & Colours etc) but have never played the original. Anthony had tracked down some amendments and scenarios for the Zulu War and came up with an intriguing scenario.


The British have been caught out by approaching Zulus in very rough, hilly terrain.  They could fight it out but are outnumbered so have the option to win by successfully extricating enough troops.  Of course they can't simply run away but have to occupy 2 specific hexes before this option is available... I guess a bit of face needs to be saved in case it looks too much like a rout. The other special rule is that the Zulus need 2 orders to initially move a unit off the base edge but once they are on the move they go back to just needing a single order.  This, and the broken terrain, mean the Zulus can't simply overrun the British in the first couple of turns.


One of the risks with these type of games is that you can be a bit at the mercy of the cards and a bad hand can really scupper your tactics.  My cards were mainly for units on the flanks so we were able to adopt the 'Horns of the Buffalo' tactics and try to envelop the British and try to block their exit route .  I also had a couple of skirmish units who did their best to defend the objective hexes but, despite wiping out a couple of cavalry units, they were ultimately doomed.

An ADC explains to the general that his cavalry seem to have disappeared

The almost-victorious Zulu general


Although the Zulu centre hadn't moved far from the edge of the table, the 2 flanks were pressing hard.  The British exit point was in danger of being seized by a Zulu regiment but it came under some surprisingly accurate point-blank rocket fire and was broken, leaving the way free for the British to make their escape.  Had the game continued I didn't fancy the chances of the units off on the British right flank who had a long way to go to get to the exit but the point threshold had been reached and it was a narrow British victory 

Wednesday, 13 October 2021

Recent games...

 So I've been able to squeeze in a couple of great games in the last couple of weeks at Eric the Shed's


Lancastrian pikes advance over the hedges

Men at Arms clash


Last week saw the penultimate Wars of the Roses battle at Eric the Shed's ... Tewkesbury.  As usual there is a great write up on Eric's blog.  It was a really close game which went down to the wire.  Bosworth next!

And then this week we moved to the Sudan and the battle of El Teb.  Again, a close run game with both sides pretty much exhausting themselves (although to be fair the Brits were broken first so it was a Sudanese victory...questions will be asked in Parliament and there may be some terrible Victorian poetry written to commemorate the defeat...)

The British columns advance

But Sudanese skirmishers lie in wait

Both sides clash at the dry riverbed

The machine guns advance (but are both jammed...again!)


The Sudanese hold the high ground

In other shock news I have actually picked up a paint brush and done some painting for for first time in months.  When I looked out my brushes to make a start on my Late Romans they looked like a 2 year old had been mashing them on the table and they were in terrible state so it was off to the excellent Gamers Guild in Redhill to restock on brushes and some paints.  A great little shop which is a bit of a rarity these days


Sunday, 19 July 2020

A return to proper gaming...

Gaming is beginning to return to something starting to resemble normality with a couple of face to face games.kindly hosted by Eric the Shed... his newly expanded shed is big enough to safely accommodate 4 players with a bit of sensible social distancing.

So far we've played a Napoleonic battle and a refight of the battle of Abu Klea.  There are excellent reports HERE and HERE.

I have 'borrowed' these photos from Eric's blog.


Abu Klea, before the Dervish hordes arrived

The Napoleonic game, length-ways down the table


I've also continued the Imperial Assault campaign with my son... the heroes are doing well but narrowly lost the last game which means I was able to introduce a scenario into the campaign which might see the arrival of Darth Vader... bwah, hah, hah!!!

I also took part in my 1st proper role-playing game for about 30 years this week.  An old friend from my uni days in Glasgow was hosting a game on Roll20 and I was lucky to be invited along.  We're playing Dragonquest...a rather old school system from the 80s but one which has some interesting features which still hold up well.  It was great fun and interesting to be sitting round a virtual table with players from Scotland, England and Canada.  The online system worked remarkably well and it was a real blast, even if I was getting flashbacks to 1983!

Wednesday, 5 February 2020

The Men Who Would be Kings - Defending the Drift


Bit of a different game this week...I'd left the choice of game to Anthony and he came up with an excellent choice which I hadn't played for ages... The Men Who Would Be Kings.

Anthony has an excellent collection of 54mm figures and for this game his Zulus and British took to the table in one of the scenarios from the rule book.  The Zulus were trying to prevent the British from capturing a vital river crossing into their territory and with a 12 turn limit the pressure was on the Brits to make haste.

The Zulus deploy on the river bank


The British and their Natal Native Contingent troops arrive

As the Zulus I ought to have been playing a defensive game and letting the clock run down against the British but that didn't feel like a very Zulu sort of thing to do so I pushed forward over the river, sending my Veteran troops up into the hills  by the river where they 'Went to Ground' which meant they could only be fired on at close range, hopefully negating the British firing advantage.

On the other side of the table I couldn't resist the temptation of trying to wipe out the NNC who had taken the other hill on the table...I thought these would be easy pickings but they fought well and had the advantage of the high ground and although the fight was a draw, this forced my Zulu regiment back


Before I could launch another attack the British Mounted Infantry charged in support of the NNC.  This turned into a very bloody skirmish with the Zulus regiment being wiped out and the Mounted Infantry then being attacked and finished off by a 2nd regiment to level the scores at 1 unit apiece.


The surviving Zulus from this fight quickly pulled back over the river where the rest of the Zulus had formed a defensive line. The British had been advancing rather cautiously and Anthony had realised that the clock was ticking


I had to really resist the urge the launch my veteran Zulus from the hills onto the advancing British regiments...I knew it would end badly but it seems the right thing to do when you're playing the Zulus!

As the turn limit was reached a brave unit of Redcoats charged the Zulus defending the ford but were driven back with heavy casualties on both sides. In the last turn however the plucky NNC who had finally decided to come down from their hill charged in driving back the rather beaten up Zulus and seizing the crossing. I had one last chance to launch a counter attack and save the day but my regiments all decided that they didn't want to advance...they'd seen what happened to their comrades at the hands of the NNC and the game went to the British (...just ).


We played this using half-strength units as the figures were 54mm which can make combat and firing rather bloody and units quite brittle, but afterwards were thinking that we could have counted each figure as 2 which would counter this.  We'll have to have a re-match to test it out.

Wednesday, 23 May 2018

When you're wounded and left on Afghanistan's plains....


When you're wounded and left on Afghanistan's plains,
And the women come out to cut up what remains,
Jest roll to your rifle and blow out your brains
An' go to your Gawd like a soldier.


I'm pretty sure it's the law that you have to start any post about a North West Frontier game with a quote from Kipling.  Of course for real artistry and class you don't need to look any further than Scotland's other national bard, William McGonagall...

And the battle that followed at Candahar was a complete victory,
And Lord Roberts’ march to Candahar stands unrivalled in history;
And let’s thank God that sent Lord Roberts to conquer Ayoob Khan,
For from that time there’s been no more war in Afghanistan

Hmmm...I'm not sure McGonagall got that last bit right...

Anyway, last night saw another outing for my 54mm NWF troops.  The game was kindly hosted at Eric the Shed's which meant I was able to use his fantastic collection of terrain and a table big enough to use my limbered gun.  On a normal 6' x 4' table this would look too large but Eric has a massive table...we only used a part of it giving us somewhere in the region of 8-10' x 6' to manoeuvre on.


On Eric's blog you'll find several accounts of a series of Napoleonic skirmish games that we've been playing using A Fistful of Lead: Horse & Musket.  These are a really excellent set of skirmish rules and ideal for multiplayer games where you want a fairly heroic, cinematic style of game, so they seemed an obvious choice for this game.

The rules use a card deck with figures activating in sequence but certain cards give a bonus (+1 on shooting, a free reload etc).  The rules are simple enough that it was possible to have the key points along with info on each character on an A4 sheet.  Each player had 5 characters which feels about right for an evening's gaming.  In each group one of the characters had a bonus skill such as Clever or Fearless but there was also a character with a bad trait such as Cowardly or Unlucky to give a bit of variety.

The rules include scenarios from the French & Indian wars through to the ACW so I adapted some of the later period rules to reflect different weapons such as Martini Henry's, Sniders and Jezzails.

The scenario involved the British running the gun up the length of the table to safety while the Afghans ambushed from the rocky cliffs.  Originally there were due to be 6 of us so each side would have had a cavalry unit but in the event only 4 made it on the evening so the horses never arrived.


The British decided to push the gun forward as fast as they could while the infantry advanced on either side of the pass.  The Pathans on our left took up position in the rocky cliffs while mine on the right hid in some rocks and in the ruined building (the old Airfix Desert Outpost).  Eric's Highlanders quickly realised that they'd have to cross open ground under Jezzail fire to reach me and Eric's Unlucky Private began to attract a lot of rifle fire.  The plucky Highlanders decided to go for glory and striking up 'The Black Bear' advanced within rifle range.  We settled into a long range gun battle which slowly whittled down the Scots and luckily I was also able to knock out the riders on the Gun Limber bringing it to a halt.

The Gordons advance up the ravine


On the other side of the ravine Mark's Pathans opted for a much more direct approach charging into bloody melee with John's British troops who were scaling the cliffs.  This proved a very messy affair with troops charging up and down the slopes and the bodies began to pile up.  The resident vulture spent a lot of the game flapping around the cliff top with plenty of rich pickings!


The battle for the heights

A well fed vulture...


Back in the centre my Pathan leader faced off against the Gordon's Captain as we tussled for control of the gun and limber.  A pistol shot cracked out and my leader fell to the ground!

The Gordon's Captain and Sergeant bravely leapt onto the gun limber and started to ride the gun off to safety but Snider rifles from the outpost and the cliffs made quick work of them, leaving Mark's cowardly Leader to nip out from his rocks and claim the gun and the horses for himself.

The cowardly Pathan finishes  off the riders

The 2 remaining British soldiers beat a retreat back down the pass leaving the Pathans bloodied but victorious.

It was a great game which went down to the wire.  I can highly recommend the rules for fun, cinematic Skirmish games.  They're available to order online as a hard copy or a PDF which makes them a good bargain and can be found here

A write up of the game can also be found on Eric the Shed's excellent blog here


Tuesday, 20 March 2018

Last Stand on the North West Frontier...


At the Little Wars Revisited event a couple of weeks ago, my British and Pathans had their first outing and I tried out The Sword and The Flames as a rule set.  I wasn't overly impressed with TSATF...they worked well enough and certainly suited the type of rules we needed on the day (nice and simple and easy to pick up) but they felt quite dated and a bit clunky.

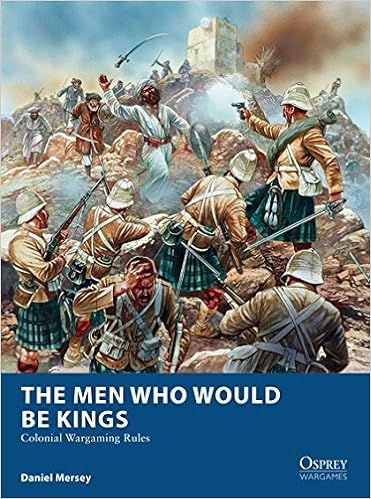
For their second outing Anthony and I had planned a game using The Men Who Would Be Kings from Osprey.  These are another ruleset from Dan Mersey and follow the same kind of mechanics that you'll find in Lion Rampant, The Pikeman's Lament etc. but with a few tweaks to suit the late 19th Century.  I'd played these once before but not for some time.

Image result for the men who would be kings

Probably the most striking difference is the Order system...in Lion Rampant etc. once you fail to successfully activate a unit your turn is over completely and play passes to your opponent.  In TMWWBKs a failure means you move to your next unit and you get to try and activate everything.  I guess this reflects better command and control in this era and certainly makes for a more engaging game.

Units can also be pinned by casualties, causing them to halt and requiring a 'Rally' order to get them going again. 

The rules come with a range of suggested Field Force lists but there are a lot of individual tweaks and abilities that can be given to units to personalise them and create scenario specific units.  The Field Force (the rules use this term for 'army') doesn't have an overall leader but each individual unit does: each of these has a Command rating which is determined at the start of the game.  This does mean that you need to find a way to record this for each unit (I used a dice next to each one) but I guess there is nothing to stop you simply allocating a standard command rating to all units if this seems like to much paperwork or you don't fancy having table clutter.

Each leader is also meant to roll for individual traits which can be good or bad depending on the dice roll...we opted not to bother with this as it seemed like another list of things to remember (or more likely, to forget!).  I can't see me using this for every unit but it might be entertaining to do it for one or two or perhaps in a multiplayer game it could be given to each player.

The rules also come with a range of scenarios and an interesting solo play system (Mr Babbage) which I haven't tried but looks like it would make for some fun games.  Because of the size of 54mm figures and a 6' x 4' table we decided to use one of the optional rules and fielded half-sized units...this worked out at 6 figures for Regular and Irregular infantry, 8 for Tribal Infantry and 5 for Cavalry.  This looked fine on the table...any bigger and I think we'd have been struggling for space.

So, on to the game...

The scenario we played was the 'To The Last Bullet' scenario which saw a small British force falling back towards a ruined building in the face of a full strength mob of Pathans.  As Anthony always makes a point of playing the British wherever possible, I decided a scenario where they have to spend the game retreating would prove annoying... Afghan psyops!!   This gave the British 3 Regular Infantry units versus 3 Irregular Infantry, 2 Tribal Infantry and 2 Tribal Cavalry.  This seemed a lot but it didn't stay that way for long!

The Pathan Field Force...


And the British defenders...note the vulture on the hill getting ready for some rich pickings....


The British can win by having 5 successive turns in which they received no casualties (the Pathans are assumed to have got bored at this point and wandered off home!).  The building provides hard cover but can only hold one unit so some of them will have to mix it with the Pathans.

The Pathans made a hesitant start with some units reluctant to advance but a few did advance at the double (a special order with an extra dice of movement) to try and close the range.  Not surprisingly the British outranged the Pathan rifles.  The cavalry enthusiastically charged across the table hoping to ride down one of the British units.  I'd set up the terrain rather randomly before the game with a mix of hills and a small stand of trees.  The only other feature was a dry river bed running across the table which proved a blessing and a curse!  The river counted as an obstacle so units had to halt before crossing it and this stopped the cavalry within rifle range.   Some spectacular dice throwing from Anthony quickly despatched both units and ensured that Nibbles, the local vulture would be well fed that evening.


The rest of the Pathan infantry finally made it to the river bed and decided to use it as cover rather than advancing.  One of the Bitish units had pulled back into the building by this point but the Gordons had bravely decided to stand in the face of the advancing hordes and slug it out with rifle fire


Ultimately this proved disastrous as, although they inflicted heavy casualties on several Pathan units, they were gradually whittled down and eventually the Colours fell.


The Pathans reach the river bed...


On my right I tried charging my Tribal Infantry (faster but poor shots) against the British with predictable results...one unit was wiped out and the other badly damaged and forced to retreat due to Pinning results.

The tribes charge...


With the Gordons despatched and the 2nd unit skulking in the building, the Pathan rifles turned on the 3rd British unit and casualties mounted on both sides.  The Pathans were badly damaged but eventually reduced the British to one figure.  As he wouldn't be able to inflict a casualty at long range Anthony decided to withdraw him close to the building.  At this point the Pathans decided that they'd achieved all they could...the British in the building looked pretty impregnable and there weren't many Pathans left to attack with so they withdrew.  A British victory but a costly one...


The survivors take cover in the building ...


The building is the old Airfix Desert Outpost...


And a special mention to Nibbles the Vulture...


A great game and a lot closer than I thought it was going to be...especially when my cavalry were mown down in quick succession.  The rules worked really well and I think will be my 'go to' rules for this level of game.