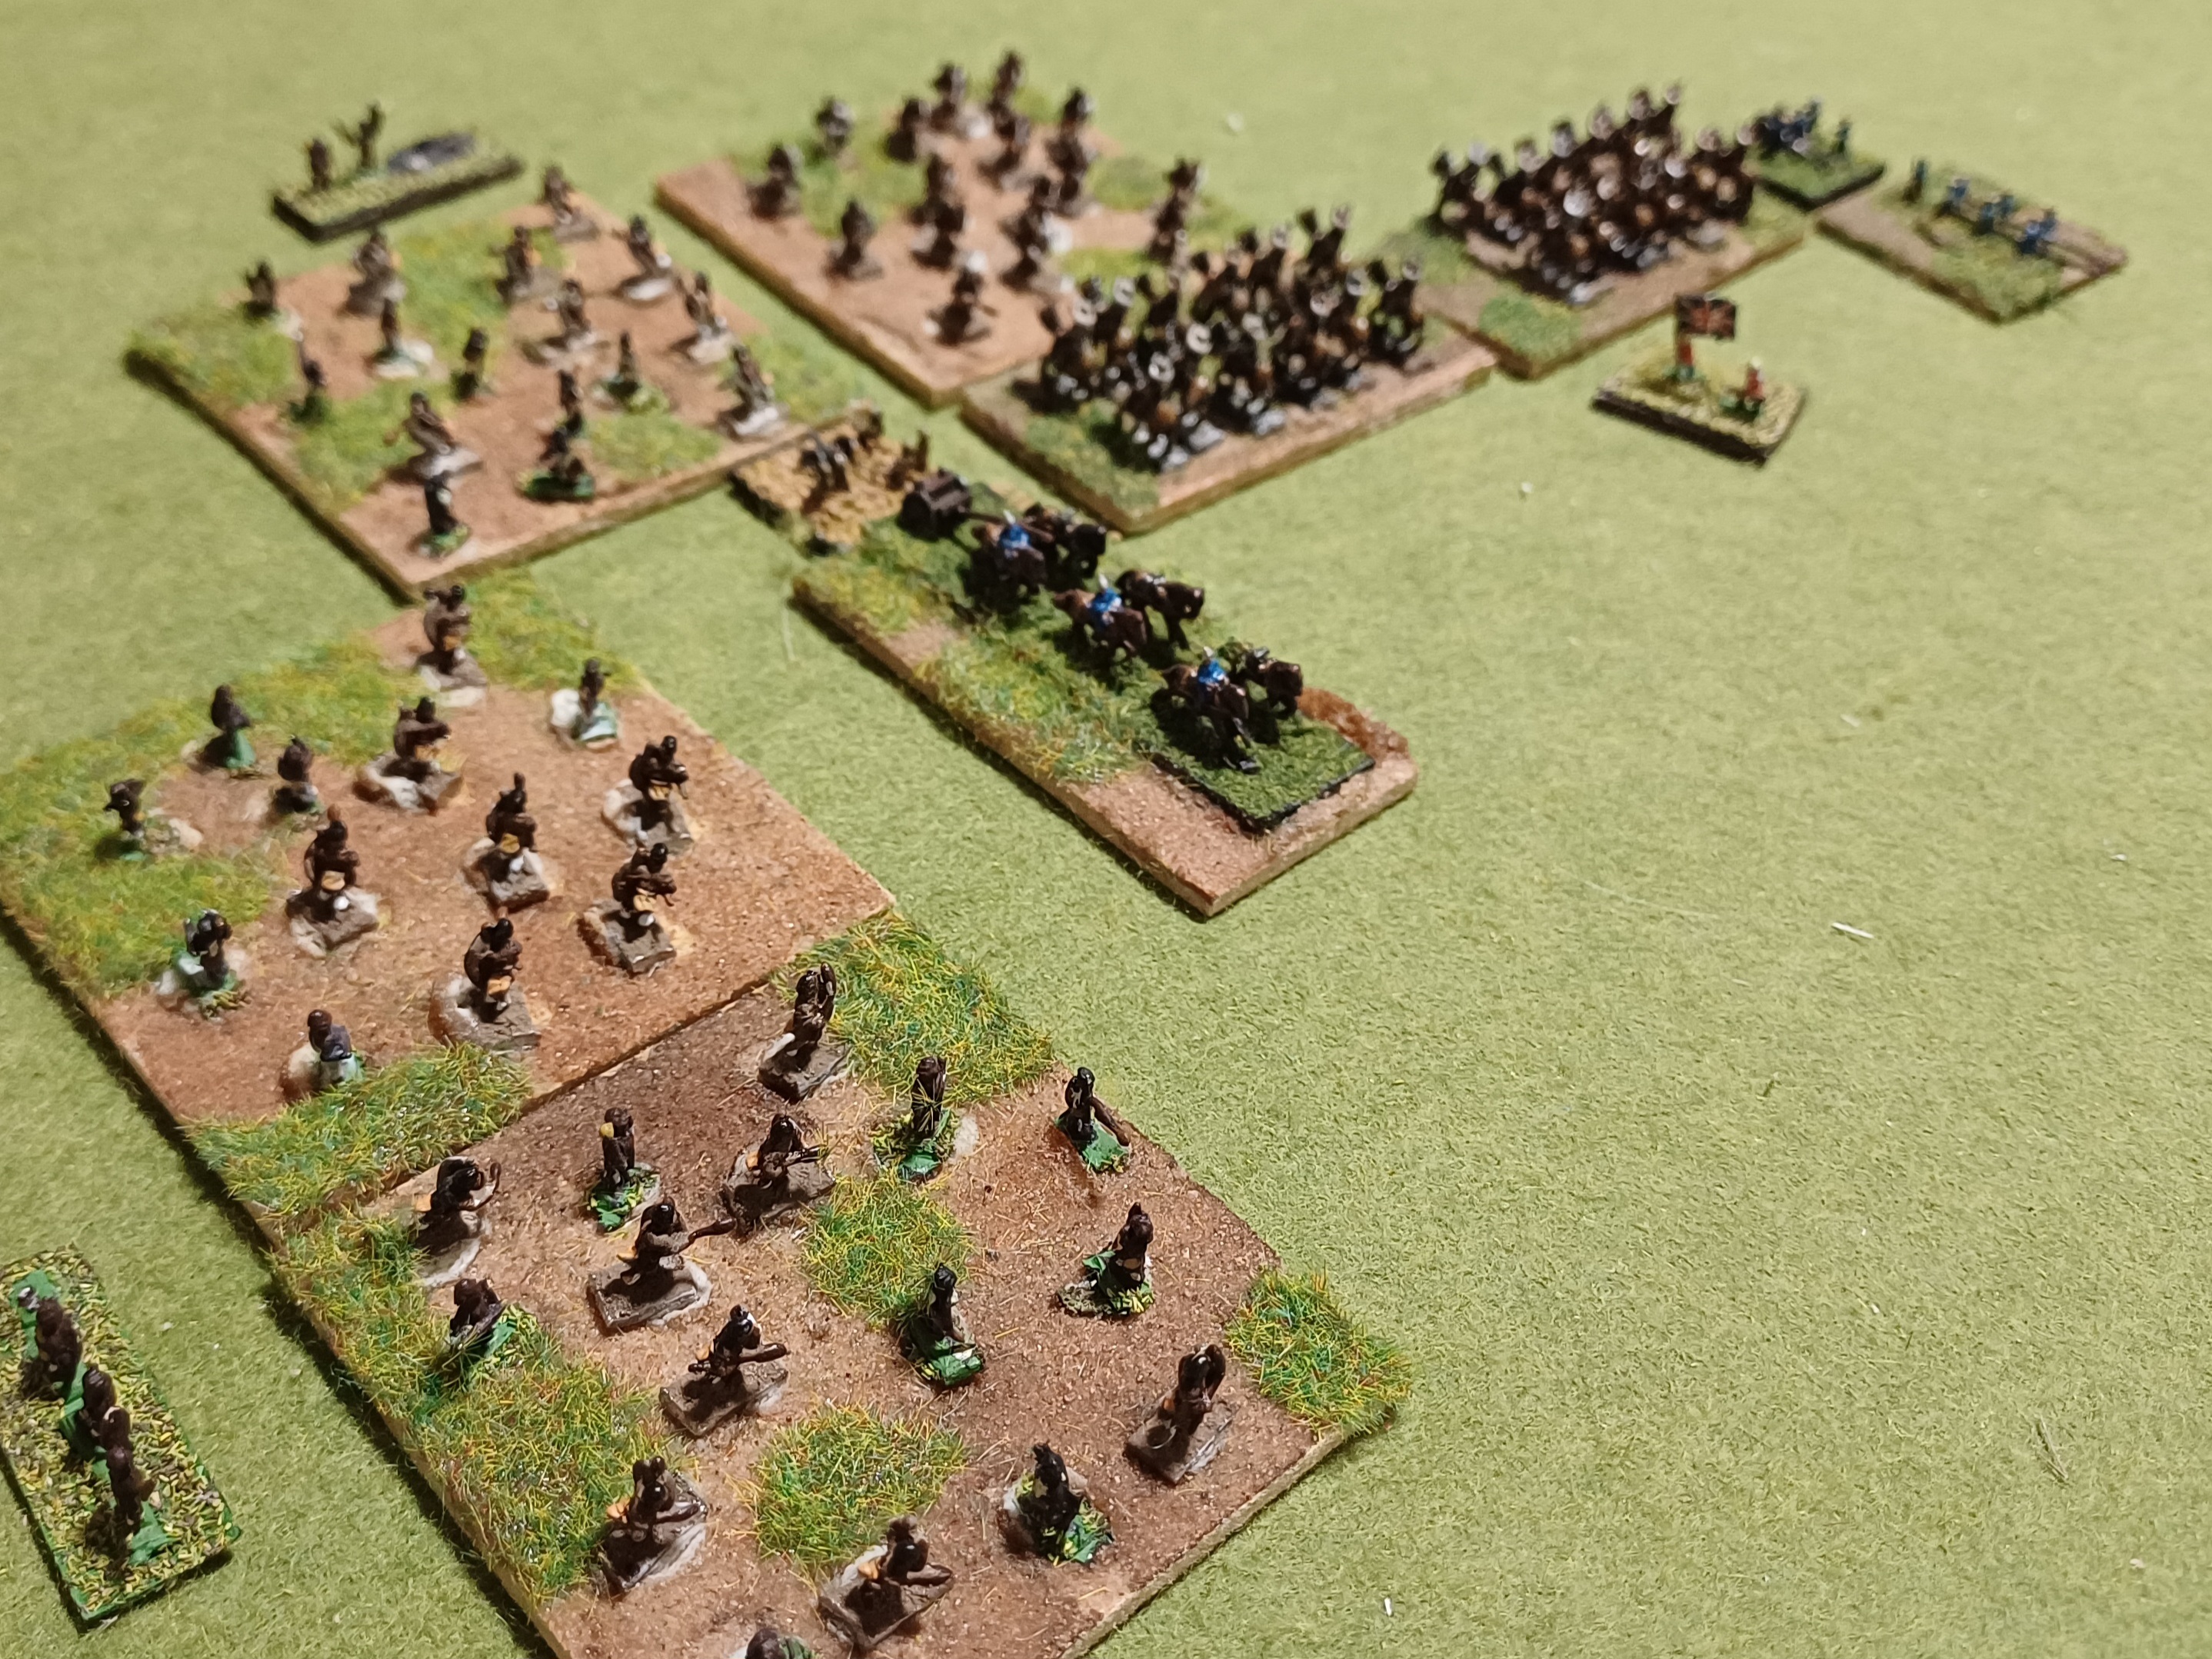
Showing posts with label 6mm. Show all posts

Thursday, 3 September 2026

A bloody day at Mars -La-Tour

 There haven't been many posts over the last month or so, although there's been plenty of gaming and painting.

On the paint table, I've been working on the next batch of Airfix Britons... really enjoying painting these and I've been impressed by how good they are given the age of the figure design and the bendy soft plastic.  I've also been painting up some more of the Lucid Eye Red Book of the Elf King figures.  Again, very nice to paint.  I'm still not entirely sure what I'm going to do with these once I have enough for a game, but I'm happy to go with the flow and enjoy the process!

Game-wise, there's been an excellent huge Ancients game at Eric the Shed's where the Persians gave the Greeks a bloody nose, and some excellent Roleplaying games at Eric's and online (more on RPGs in a separate post coming soon)

Last night saw me actually dig some figures out of the loft for a game... it's the 1st time I've ventured up there for months, partly due to the heat as it's like a sauna up there.  I bashed my head off the hatch on the way up but managed to stay on the ladder somehow... the lump's just about going down now, several days on!  I really do need to do some sorting out up there though as it's even more chaotic than normal.


So, it was off to the fields  of NW France and the Franco-Prussian war with my friend Andrew, and a refight of Mars-La-Tour using the excellent 19th Century rules by Neil Thomas.  Mars-la-Tour should be a good chance for the French to give the Prussians a rare kicking... Marshal Bazaine had 130 000 men available versus an initial Prussian force of 30 000 (eventually rising to 65000 later in the day).  Of course French generalship was very poor and meant that they failed to make much impact on the Prussians who had formed a defensive position.  The scenario puts a lot of restrictions on French command and control so only between 1-3 French units can be fully mobilised each turn.  All the others move and fire at half effect. 


[Does this sound like I'm getting my excuses in early... because that's exactly what I'm doing!!]


Both sides have reinforcements arriving half way through the game and the French actually have a great opportunity to flank the Prussian line.  The temptation was to sit back and wait for these, and use the advantage of the longer rifle range that the French enjoy, but I was conscious that the victory conditions meant the French have to force the Prussians away from the central road which leads to Metz.  I was lucky with my command roles which let me order the max of 3 units per turn for the 1st few rounds.  Looking at the map, I did make a slight error when I set out the starting positions which should have had a couple more of the French units begin within range of the Prussians, especially in the SE corner of the map

[yep... more excuses]

I tried using my artillery to soften up the Prussians and pushing a couple of infantry units forward: one of the features of the rules is that you can generally either move or fire, not both.  And moving means you are in column, which made my units a tempting target for the superior Prussian artillery which caused pretty devastating casualties.  

The rules certainly give a good reflection of 19thC warfare.  Regiments marching across the open are likely to devastated by artillery and breechloading rifles.  In desperation I tried an assault on Vionville before spotting the rule which says Infantry will only charge other infantry when they outnumber them... frustrating but fairly accurate.  It definitely emphasises the need to soften up your opponent with longer range fire first!

The doomed assault on Vionville

After a few turns of this we realised that there was no way the French were going to get anywhere near the Prussian lines and abandoned the game in favour of a general catch up and chat

With hindsight I should either have made a general advance to within Chassepot range: I'd have come under heavy artillery fire but it would have been spread across the line, rather than giving Andrew the chance to concentrate on 1 or 2 units.  Or waited till the reinforcements arrived.  However I like to think I played the French in the spirit of Marshal Bazaine!!

I haven't played these rules for several years but I can highly recommend them.  They're pretty simple and easy to pick up and I really like the explanations Neil Thomas gives about how they are structured which make a lot of sense.  They're actually a really nice set of rules to read.  His explanations about the development of wars in 19thC Europe and his musings on the features of the rules are very readable and add a lot of information and nuance


Thursday, 27 February 2025

Zulu: the Battle of Nyezane


This week I played the 1st game of the year with my friend Andrew and we decided to go with something different.  After a bit of mulling over a selection of ideas we settled on a colonial game, pitting Zulus against a British column.  My armies haven't seen the light of day for years so I was pleased to get them out.

As well as my main armies which are Baccus 6mm figures, I discovered several bases of Brits and Zulus which are (I think) Heroics and Ros.  I have no recollection of buying these (oh, come on... we've all done it!!) but it was immediately obvious that they look like tiny hobbits next to the Baccus figures!  They're very nice but not compatible at all so these will be off to eBay asap.


The next decision was which set of rules to use.  The choice was Black Powder or The Men Who Would Be Kings and after a bit of thinking I went with BP and one of the scenarios from the Zulu supplement.  I opted for the Battle of Nyezane as this seemed a nice, relatively straightforward scenario.  Coincidentally I discovered later that I'd already played out the same scenario at Eric the Shed's  7 years ago

On 22nd January 1879 Col. Pearson's column was slowly making its way into Zululand, heading towards Eshowe.  Crossing the Nyezane river, they were attacked by somewhere between 4-6,000 Zulus.  The scenario stipulates that the British must begin with around 1/3 of their troops on the north bank of the river, and finish with more than 1/2 across the Nyezane.  

The Zulus are hampered by only arriving on an odd dice result, but have the advantage of a bitnof cover behind a couple of sours which partially screen their advance.

The NNC bravely cross the Nyezane ahead of the main force


I began with the Natal Native Contingent deployed across the river with the Naval Brigade and regular infantry marching towards the bridge.  The Zulus had a patchy start with only around half of their commands arriving.  I, rather foolishly, decided that there was a chance to protect the north bank and not leave the NNC to claim all the glory.  

In my defence I may have been adopting the spirit of Col. Pearson and dismissing the chaps with pointy sticks as not much of a threat (the battle took place on the same day as Isandlwana)... or maybe I was just a bit over enthusiastic.  In hindsight I should have formed up along the edge of the drift and used it as a defensive line, but I was too mindful of the need to get troops onto the north bank.

The Naval troops hauled their 7 pounder and a gatling gun across the river and were joined by 2 squadrons of mounted infantry.  Incidentally this battle is believed to mark the 1st deployment of a gatling by the British army.  The Zulu horn swung rapidly across the flank and hammered into the artillery.  The gatling gun opened up at point blank range, shaking the Impi facing it but the whole Brigade was quickly overrun and broke.

The Naval Brigade ford the river

But the Zulus swarm around them


The regular infantry had pushed forward and eventually managed to form a firing line on the Zulus other flank and the NNC fell back rapidly to form up alongside them.  The Zulus decided at this point that they'd probably achieved as much as they were going to without incurring heavy casualties and decided to withdraw. 

The desperate firing line forms up


 They'd lost 1 out of 5 commands but had wiped out the Naval Brigade and a third of the British column... there would definitely be questions asked in Parliament!  We thought it would be interesting to refight this at some point using TMWWBKs to see how it plays out.


Wednesday, 20 September 2017

The Perry Travel Battle game


As a change from the summer's diet of boardgames  I tried the Perry's Travel Battle game.  This was launched at Salute back in April when every other person seemed to have bought a set but I'd never actually seen it out of the box.

My friend Anthony had picked up a set and thought the system was rather good so we gave it a go last week.  Anthony, being Anthony, hadn't settled for a straight game out of the box but had replicated it in 6mm using a very nice mat from Deepcut Studios marked out in appropriately sized squares.

The original Travel Battle game comes with 2 hard plastic squares which are configured to form a battlefield complete with villages and woods.  The game also comes with 160 infantry, 24 cavalry and 4 guns all either generically Red or Blue.  Strangely the figures are 8mm which seems an odd size to pick. 

Image result for perry travel battle

The rules are nicely simple and use grid based movement.  An interesting touch is that units have to be linked to a square containing a Brigadier (this can be as part of a chain of units).  One effect of combat or shooting is to force units to retire back to the table edge at which point the Brigadier is forced to ride back and lead the unit back to the frontline, leaving the rest of his command waiting and not advancing.  I quit like grid based games...they can make the game seem rather chess-like but they make movement and range finding nice and simple.

Image result for perry travel battle


As I mentioned earlier, Anthony had replicated the boxed game on the tabletop using the original set  to determine table layout and then placing appropriate terrain on the mat.  We also used his very nice Baccus 6mm Napoleonic figures


As expected Anthony played British (he always does)... I had some lucky early dice throws which caused some casualties from my artillery fire and set the tone for the game.  The French right flank advanced slowly with the Guard proving reluctant to get to grips with the enemy but over on my left my cavalry charged straight into the British infantry.  There was quite a tussle on this flank but my cavalry were quickly supported by some rapidly advancing infantry and began to carve their way through the British flank and then centre, breaking both Brigades in turn.  To be fair this was mainly due to some lucky dice throwing rather than any cunning tactic.

The rules are nice and simple, reminiscent of the Neil Thomas rules (although I think there's more depth to the NT rules) and are ideal for a quick evening game or for the kind of quick game the Travel Battle set aims for.  I'm not sure it would tempt me to buy a set of the Travel Set but I can see the attraction if you want to take a game to a friends or play eg in the pub.

Thursday, 13 April 2017

Franco-Prussian Black Powder

This week saw a long-overdue outing for my Franco-Prussian armies in a game of Black Powder at a friends house.  I'd decided to try and tweak the standard BP rules to take account of the particular quirks of this fascinating transitional period.  A bit of googling threw up lots of ideas that other people had come up with and I then tried to piece together something that made sense to me.

The first dilemma with the FPW is how to reflect the variations between the French Chassepot rifle and the Prussian Dreyse: technically the Chassepot had twice the range of the Prussian rifle but there were also differences in fire discipline and problems with the French breech loading mechanism to take account of.  Most suggestions give the French range increase of somewhere around 25-50% so mine had a range of 24cm while the Prussians were limited to 18cm.  I also made all infantry 'Sharpshooters' which allows them to re-roll one missed firing dice each turn to reflect the murderous fire from rifles in this period

Similarly the artillery needs to be adjusted heavily in favour of the Prussians.  I gave the Prussians a 72cm range and the Sharpshooter ability while the French had a maximum range of 48cm.  My figures are 6mm, hence the change to cm rather than inches.

Prussian command ratings were higher than the French (8 vs 7) apart from the Bavarians who were also on 7.  The other changes I made are listed below and were a combination of the ideas that made sense to me from various people on t'Internet...


1.       All Dreyse and Chassepot troops are consider Sharpshooters allowing them to roll one missed shot. This represents high fire rate of the breach loading weapons.

2.       All Dreyse and Chassepot troops can go prone. They need an order to change formation to/from prone:

a.        -1 to save from shooting
b.       If charged frontally then can attempt to stand, needs successful command roll
c.        If charged & contacted when prone then no closing fire
d.       If charged & contacted when prone then -1 to hit enemy troops in H-to-H

3.  1870/1 Mitrailleuse must deploy next to artillery and cannot be attached directly to infantry formations. Although best used as an infantry support weapon the French did not fully understand its capability and because it looked like an arty piece it was given to the gunners

4. Cavalry are not expected to frontally charge breach loading infantry (Dreyse or Chassepot). If they did they usually got slaughtered. Cavalry can charge Shaken infantry or charge flanks/rear.  However, on a few occasions the sheer surprise was worth a last ditch effort. Roll a d6, if 5 or 6 then the charge can be declared and conditions are good (order still needs to be given by the commander, so it may not go ahead) – infantry are caught “surprised” and cannot issued closing fire.

During the game we immediately forgot about using the 'going prone' rule which didn't have much impact on me but might have helped a couple of Andrew's units form getting peppered by long-range French rifle fire.  The changes also meant that the cavalry were quite limited in how they could be used but this seemed to fit the period...neither of us felt brave enough to risk the 1 in 3 chance of launching a von Bredow style Death Ride!

The final change to normal Black Powder practice was to muck about with the turn sequence.  This seems to be a widely adopted change but not one I'd tried.  We moved Firing so that it now occurred before the Command phase...ie firing then movement.  This seems to have been introduced to prevent a lucky unit making a 3 move advance and then blazing away at close range with the opponent unable to do much about it.  I struggled with the turn sequencing throughout the game and found this hard to get my head round: although it seems to make sense on paper I found it very counter-intuitive and I'm not convinced it adds anything to the game.

So onto the actual game...

The scenario had the 3 Prussian and 1 Bavarian Brigades advancing to seize a village and road junction defended by 4 French Brigades.

The Prussian objective


The Prussians advance rather menacingly down the roads


As the French player I managed to get a unit into the target village and onto the hills overlooking the junction and this was quickly opposed by a Prussian Brigade.  The 2 Brigades remained there for the remainder of the game with the Prussians getting slowly whittled down by the longer range of the French rifles.

The standoff in the centre


On my right the opposing Cavalry Brigades manoeuvered around for a bit and glowered at each other a lot but neither of us was willing to take the risk of committing them to an attack.

..and another standoff on the right flank as the Prussian cavalry stared down the French


The battle really unfolded on my left flank where I'd advanced a Brigade too far and it found itself under pressure from the Bavarians and a Prussian Brigade.  I was briefly spared when the Bavarians blundered and retreated but Andrew was still able to coordinate an attack which eventually broke my Brigade.  By the end of the fight the Bavarians were pretty beaten up however and took little further part in the fight.

The intense fight on the left flank


The Prussians pushed on towards the village an a fierce fight broke out in a wood as a second French Brigade tried to shore up my flank.  This also took heavy casualties and was looking pretty ropey by the time was called a halt.  We decided this was a close Prussian victory with the French holding out but having taken too many casualties in the process. 

I think most of the amendments worked: getting the ranges right is always tricky but these felt ok to me.  If only we'd remembered to go prone when the bullets were flying!

Saturday, 20 September 2014

Franco Prussian war - Neil Thomas rules


This week I dug out my copy of the Neil Thomas 19th Century Rules and my 6mm Franco-Prussian armies.  These are an apparently simple set of rules that have a bit more depth than they first appear.  There's more info about how they actually play here.
 
Andrew and I played out the Pitched Battle scenario with my French attacking the Prussian's as we both struggled for 2 towns and a hill in centre of the field.  Before the battle started we checked for any changes to our forces and both of us had troops delayed and arriving several turns into the game.


Both sides raced towards the objectives with my left flank seizing one of the towns while the Prussians managed to take the hill. 
 
The French capture one of the towns...
 
 
The struggle in the centre was going to be the deciding factor  and I had a moment of hope when my Zouaves got there first.  The Prussians threw a regiment into the town and hand to hand combat, driving the Zouaves out and the breaking them completely...disaster!!
 
 
...but the Prussians hold the hill
 
 
On the French left the regiment occupying the town quickly became stuck with a bit of a dilemma...sit tight and hold the town but play little further part in the game, or venture out into the sights of the Prussian guns.  Probably unwisely I chose to sit tight...at least that way I had one of the objectives although Andrew had neatly tied up an infantry and cavalry regiment.
 
The battered remnants of the French centre fall back before the central town
 
 
Over on the hill the Prussian artillery began pounding the approaching French columns and the advantage of steel rifled guns quickly showed  and the casualties mounted.  Fresh arrivals for the French joined in the struggle for the hill but the Prussian's cunningly hid behind the reverse slope and waited for the columns to arrive, denying the French the advantage of their longer range rifles.
By the time they'd arrived the artillery had done its job too well and most French units were pretty beaten up and there was no real chance of seizing the hill and I conceded the game.
 

The French reinforcements head for the hill


The rules themselves are a very short part of the book but give a good feel for this period... the artillery certainly works like it should!! 

Neil Thomas has a new book just out "One Hour Wargames" which looks like it could be worth a read....link.   His books are very readable and 1 hour time scale would be ideal to get a couple of games in during a club night.  They also play on a limited tabletop space which is ideal for those of us without decent sized gaming space at home.


Tuesday, 29 January 2013

Neil Thomas: 19th Century rules


Back at Xmas I acquired a set of Neil Thomas' 19th Century rules having heard good things about them at the Guildford Wargames club. Last night I finally got a chance to try them out.


For anyone with an interest in the Continental wars of the 19th century the rules are well worth reading. They're presented in a traditional book format and the rules themselves only make up 8 pages out of 193. The remainder of the book is made up of a lengthy and very interesting explanation of Neil's ideas and why he has designed his rules in the way he has and a detailed discussion of 19th Century political and military changes [anyone that references AJP Taylor is alright in my book!].

The rules themselves are brief and give every impression of being simple, but as is usually the case with rules like this they're actually more complex than they first appear. Having set out the mechanics of the game there are then several scenarios [Pitched Battle, Meeting engagement etc] in which a random element of the armies may fail to arrive, be delayed, arrive on a flank etc. I've always enjoyed games where the set up and composition of the armies is slightly degraded by random factors... Peter Pig rules are particularly good for this... as I guess few Generals every really got to play with all of their toys exactly as they'd planned.

The rules also include a number of army lists with specific rules for each period/theatre and appear to cover most of the 19th Century on mainland Europe.

I'd convinced Andrew to give these rules another go... he'd played them on a previous occasion and had some reservations but kindly agreed to indulge me! My armies for this period are in 6mm with all the figures from the excellent Baccus ranges. I have a French and Prussian army but have been slowly building up some additional Austrians and Piedmontese which should allow me to get away with at least 3 wars for the price of 1!!


We played out a Pitched Battle scenario with the French taking the initiative and attacking Andrew's Prussians. As the defender Andrew was able to deploy a couple of units forward of the main army and took advantage of this and occupied one of the 2 towns with his Skirmishers. The French were making a Flank attack so their cavalry and 1 Infantry unit were held off table till turn 5: we assumed that the Prussians wouldn't be aware of which turn this happened in although this wasn't clear in the rules.

In the NT rules units can't move while in Line formation so the both sides began marching steadily towards each other in columns but the French [despite being the attacker] quickly halted and deployed into line to take advantage of their Chassepot rifles longer range. Meanwhile the Prussian Steel Rifled artillery began the process of knocking lumps out of the French Infantry: luckily being in Line meant there was a better chance of saving some of the hits but it was still painful


On the right the French managed to occupy the 2nd town but came under heavy fire which slowly whittled down the defenders. On their left the Prussian columns were beginning to pay the price for having a shorter range carbine and having shot up the leading Prussian unit the French decided to go in with the bayonet in true French style. This was very effective and wiped out the Prussian unit but left the French weakened and vulnerable to a 2nd Infantry column that had advanced and to fire from the Jaegers who had advanced out of the town and moved around the French flanks. Another Prussian column had advance bravely towards the French guns and was shot to pieces for their efforts, even getting close enough to allow the French to deploy their Mitrailleuse.

A pretty equal exchange of fire on this flank meant that all units were becoming pretty battered and the Prussians were able to charge into the French Zouaves and drive them back... despite this the Zouaves held on with a handful of men and continued to rather annoyingly pick of Prussian infantry. 


The Prussians charge the French Zouaves


As turn 5 dawned the French flank forces finally arrived. The Infantry advanced against the Jaegers while the cavalry deployed against the Prussian Kurassiers. Andrew was able to quickly charge one of the French Heavy Cavalry and drive them back and at this point I discovered the lethality of artillery vs cavalry. The Prussian Krupps guns swung round and began knocking large holes in the 2nd unit who steadily advanced under the hail of fire and almost reached the guns... it was all very gallant and brave and I'm sure there were medals given for it but it was equally pointless! The Kurassiers meanwhile chased the French Cuirassiers around the table to no great effect.


The French cavalry decides to turn up...


The Prussian guns take aim at the doomed French Hussars...


By this point the game had pretty much reached an end. The French had no real intact units left on the table and the Prussians were equally battered but had a couple of units the remained effective so were able to claim the victory.


So what's the verdict on the rules. I knew Andrew hadn't been a great fan before and I'm not sure this did anything to change his mind but I have to say I really enjoyed them. As I said earlier they appear a fairly simple set of rules but have quite a bit of depth to them [some of which it would have been helpful to realise beforehand... cavalry and guns don't mix!]. They certainly emphasise the bloody nature of warfare in this period of breech loading and rifled guns. As someone at the club later commented: " The Franco-Prussian War... like the American Civil War but without the intelligence..." [but with prettier uniforms!]